A single faulty AC contactor can cripple your HVAC system or halt production lines overnight—costing thousands in downtime. Yet, 30% of these failures stem from overlooked testing steps! Whether you’re troubleshooting erratic operation or verifying insulation integrity, this guide delivers exact methods to test AC contactors safely and efficiently. I’ll walk you through resistance checks, timing tests, and pro tips to slash maintenance costs. Ready to master reliability? Let’s energize your expertise!
1. Introduction to Contactors
What is a Contactor?
An AC contactor is an electromechanical switch designed to control electrical circuits in alternating current (AC) systems. Commonly used in industrial equipment, HVAC systems, and motor control applications, it enables safe remote operation by connecting or disconnecting power to devices like compressors, pumps, or fans. Its primary role is to handle high-voltage or high-current loads while protecting circuits from overloads.
Key Components of a Contactor
- Electromagnetic Coil: Generates a magnetic field when energized, pulling the movable contacts to close the circuit.
- Contacts: Include stationary and movable parts (usually made of silver alloy) that carry the electrical current.
- Arc Suppression Chamber: Extinguishes sparks during contact separation to prevent damage.
Additional elements like auxiliary contacts (for control circuits) and housing (for insulation) ensure durability and safety.
2. Essential Preparations Before Testing
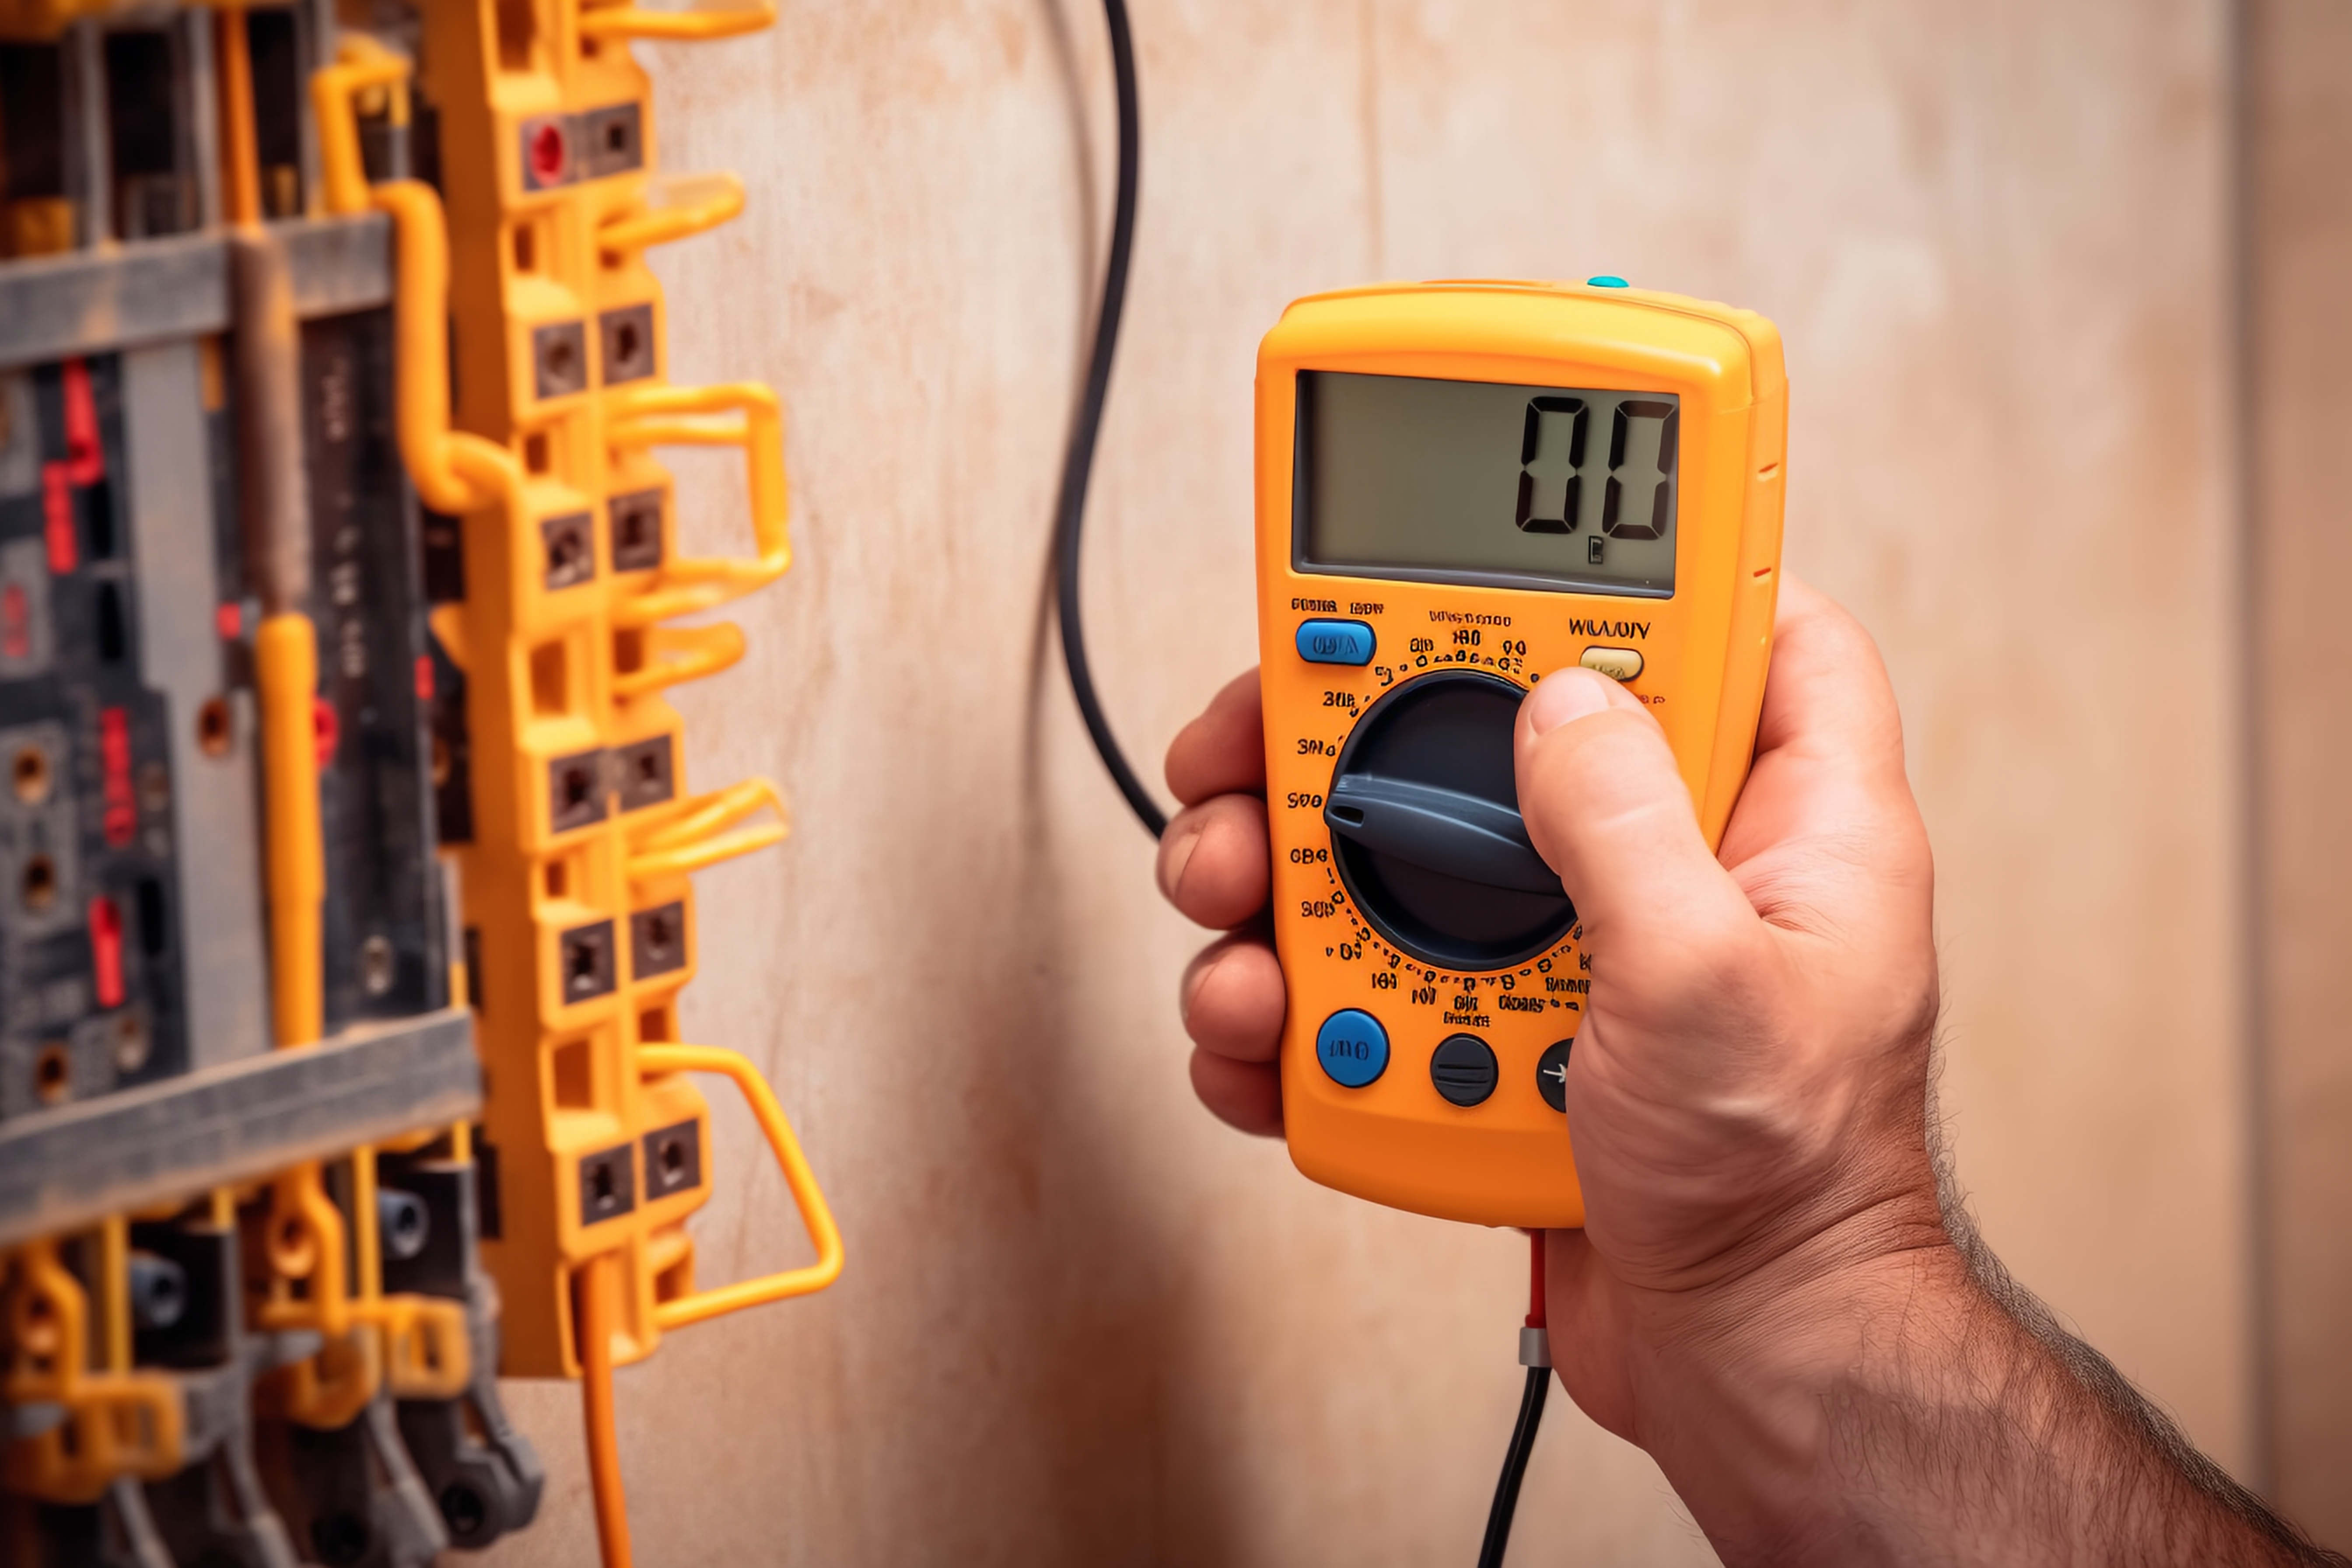
- Safety Precautions:Testing an AC contactor safely requires prioritizing precautions and gathering the right tools. Safety first: Always disconnect the power supply at the circuit breaker to prevent electrical shocks. Verify voltage absence using a multimeter before touching terminals. Wear insulated gloves and safety goggles for protection. Ensure the work area is dry and well-lit to avoid accidents.
- Tool preparation: Equip yourself with a digital multimeter (for measuring voltage, resistance, and continuity), a screwdriver set (to access terminals), and insulated pliers. Keep the manufacturer’s manual handy for reference, and prepare a notepad to log readings. For older units, have contact cleaner and a wire brush ready to remove debris. These steps ensure accurate testing while minimizing risks. Always double-check connections and tools before proceeding.
3. Step-by-Step Contactor Testing Procedures
Contact Resistance Testing
Begin by conducting contact resistance testing using a digital multimeter or micro-ohmmeter. Ensure the AC contactor is fully de-energized and all power sources are disconnected. Measure the resistance across each set of contacts. According to ANSI/IEEE standards, resistance values exceeding 0.1 ohms indicate potential wear, pitting, or contamination of the contacts.
Operational Timing Test
Perform an operational timing test to evaluate the coil’s performance. Use a specialized timer or oscilloscope to measure the pull-in time (the duration for the contacts to close after energizing the coil) and the drop-out time (the time for the contacts to open after de-energizing). Typical acceptable ranges are 0.5–2 seconds for pull-in and 0.1–0.5 seconds for drop-out. Compare these measurements against the manufacturer’s specifications to confirm compliance.
Voltage Rating and Insulation Verification
Verify the contactor’s voltage ratings and insulation integrity during routine inspections. Ensure the device operates within its rated voltage and that insulation materials show no signs of degradation, cracking, or carbonization.
Safety and Compliance
Adhere to safety protocols throughout the testing process, including lockout/tagout procedures and the use of personal protective equipment (PPE). This methodical approach minimizes unplanned downtime, ensures reliable contactor performance, and prioritizes personnel safety by aligning with industry standards and manufacturer guidelines.
4. Common Contactor Faults and Troubleshooting
Contactor Fails to Close
A stuck or non-closing contactor often stems from coil failure, low voltage, or dirty/burned contacts. Test the coil with a multimeter for continuity; replace if open. Verify voltage matches specifications (typically 24V). Clean pitted contacts with fine sandpaper or replace them if severely damaged.
Intermittent Operation
Flickering or erratic engagement usually indicates loose wiring, weak coil voltage, or thermal overload triggers. Inspect terminals for tight connections and corrosion. Check control voltage consistency. Reset overloads and ensure proper sizing for the load.
Unusual Noises During Operation
Humming or buzzing suggests loose core components, low voltage, or debris in the electromagnetic core. Tighten mounting screws and check for debris. Ensure voltage stays within ±10% of the rated value. If noise persists, replace worn armatures or damaged coils.
Regular maintenance (cleaning contacts, tightening connections) and voltage monitoring prevent most issues. Always disconnect power before testing or repairs to ensure safety.
5. FAQs: Answering Technician’s Top Questions
- Q: How often should contactors be tested?
- A: Quarterly for industrial settings; annually for light commercial use.
- Q: Can a welded contactor be repaired?
- A: Rarely—replace immediately to avoid circuit damage.
- Q: Why do new contactors fail prematurely?
- A: Manufacturing defects or improper installation (verify torque specs).
6. Conclusion
Regularly testing your AC contactor ensures optimal performance and prevents electrical failures. Follow the manufacturer’s guidelines for safe procedures, inspect for wear, and consult a professional if issues persist. Prioritize safety to maintain system efficiency and longevity.
Post time: Mar-01-2025